
Microsoft Excel is a very popular way to create and share your spreadsheet. You can also use it on your Digital Signage screen.
There are 2 ways to use Excel with OptiSigns
1) Just upload the XLSX file, and OptiSigns will convert and display it on your screen (pros: can play offline, just upload files, cons: when there are changes, you need to upload the files again)
2) Use Excel for Web (online) (pros: you can make changes to the Excel file and screens will update automatically, cons: need internet connection to display)
This article will walk you through how to set up option 2:
Upload your Excel to OneDrive and changes to your Excel can be automatically updated on your screens.
If this is the first time you use OptiSigns, you can read here to get set up.
Otherwise, let's dive in.
1) Create and prepare your Excel
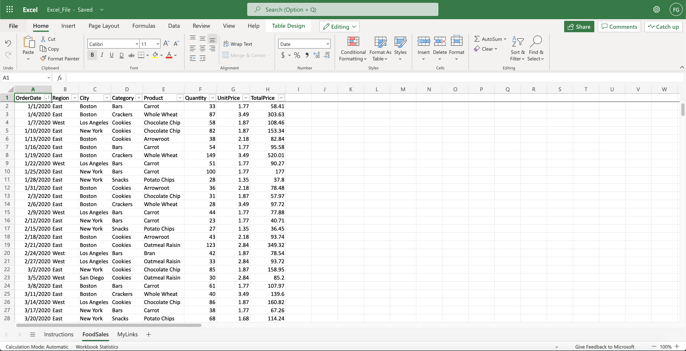
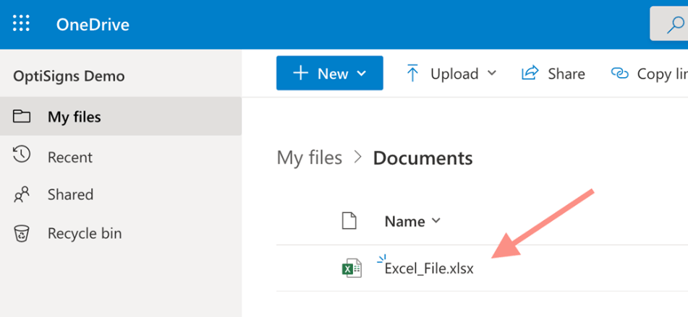
First, create or upload your Exel file to your Microsoft OneDrive and Open it.
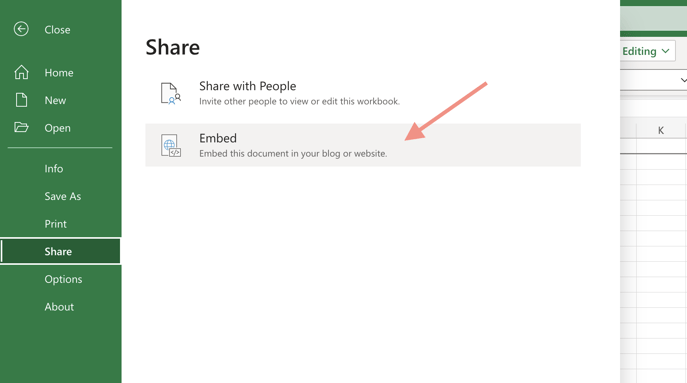
Then on the File tab of the Ribbon, click Share, and then click Embed.
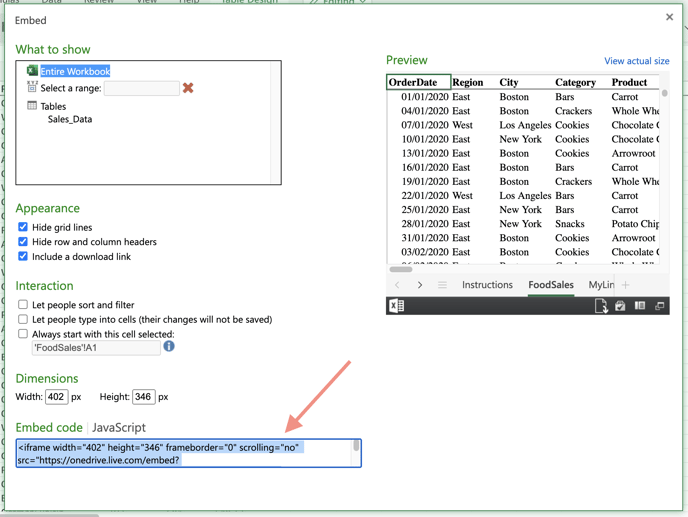
To create the HTML code to embed your file in the web page, click Generate
Under Embed Code, right-click the code, click Copy, and then click Close.
2) Add Excel Onlne App on OptiSigns
Go to our portal: https://app.optisigns.com
Click File/Assets, then click Apps, search, and select Excel Online app.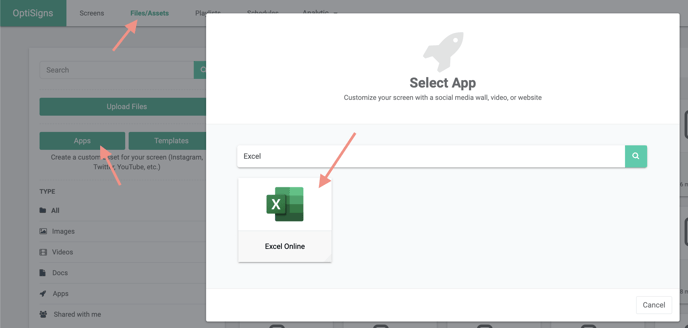
There are two options to enter your Microsoft PowerPoint.
- Copy and paste your Microsoft Excel embed code directly.
- Sign in with your Microsoft account, and select your Excel file.
Option 1: Copy and paste your Microsoft Excel embed code directly.
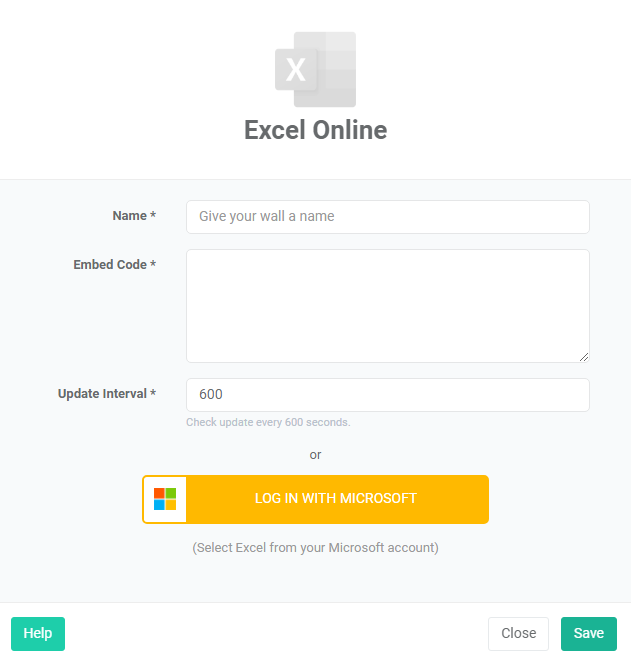
- Name: for you to remember, you can use the same Excel file name.
- Embed: Paste in your Embed Code.
- Update Interval: default is 600 seconds (10 minutes). This means the app will refresh the link every 10 minutes for any changes in your spreadsheet.
Click Save
Option 2: Sign in with a Microsoft Account
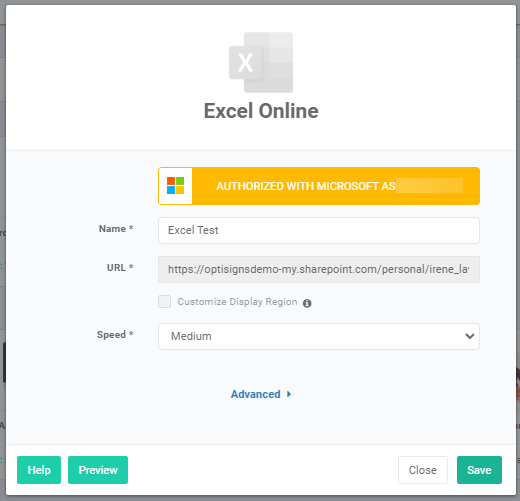 Name: This is the name to organize assets, it will not be shown on the screen.
- URL: This is the Excel link that is auto-generated.
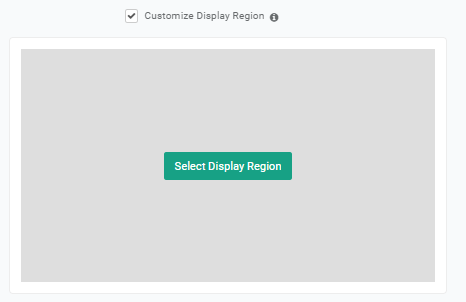
- Customize Display Region: Select a specific region in your file to be displayed on your screens. The asset must be saved first before the feature is enabled.
- If enabled, click on 'Select Display Region' and then click on the sheet page to select Display Region.
- Speed: Select how fast you want the slide to switch between slides. You can also customize your speed if you select Custom.
(Important Note: Please allow “popup” on your browser. You will able to log in and open the folder/file picker.)
Advanced option:
With logging in with a Microsoft account, you have the option to set up Force it refreshes.
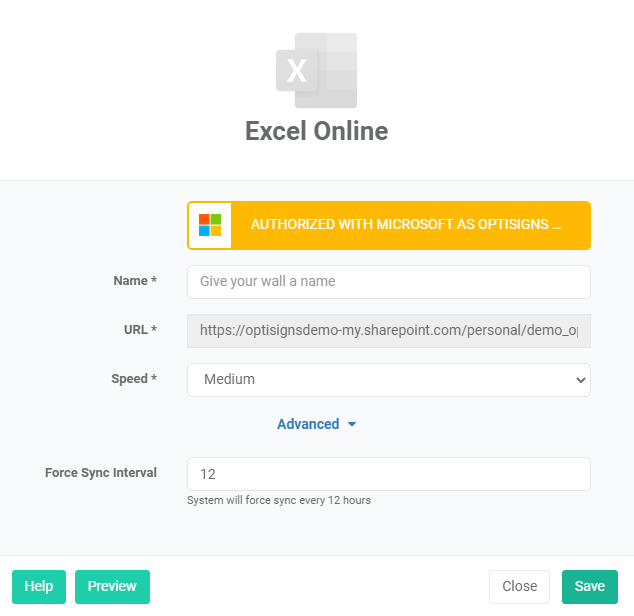
Force Sync Interval: By default, the system will force sync every 12 hours. The minute is 1 hour.
Click Save
That's it, you have created an Excel Online.
Anytime changes are made to the Excel Online workbook, the screens will be updated by the update intervals.
If you have any additional questions, concerns, or any feedback about OptiSigns, feel free to reach out to our support team at support@optisigns.com