
OptiSigns support integration with Microsoft Power BI so that you can securely share your Power BI Dashboards & and Reports to your large-screen TVs.
In this article, we'll show you how to link your Power BI Dashboards on OptiSigns. Here are the high-level steps:
- Prepare your Dashboard or Report for sharing
- Add Power BI app on OptiSigns
- Assign it to your screen
Note: if you are using Power BI Report, only the first tab of the report will show up on the screens.
If this is the first time you use OptiSigns, you can read here to get set up.
Otherwise, let's dive in.
1) Prepare your Dashboard for sharing
We're assuming you already have a Power BI dashboard that is built out and ready to showcase to your team members or audience on a large screen.
If your report or dashboard is hosted on Microsoft 365, simply copy the URL link in your Power BI dashboard.
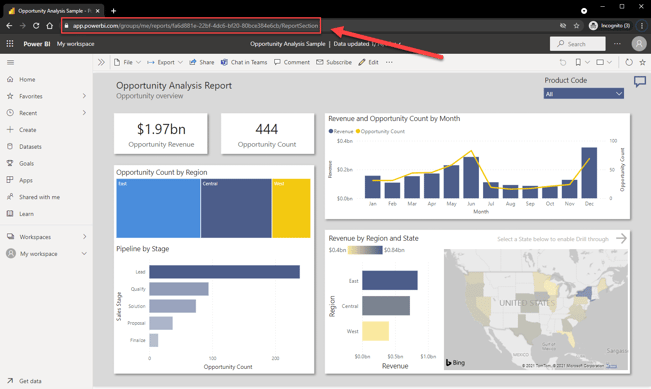
Note: Please make sure to use the URL link from the browser address bar. The link from the report share is dynamic, it is not a valid identifier for the report.
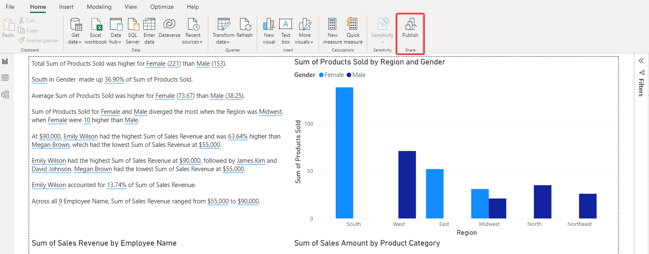
If your report or dashboard was created using the Power BI Desktop app, you need to click 'Publish' from the top menu. Follow the instructions.
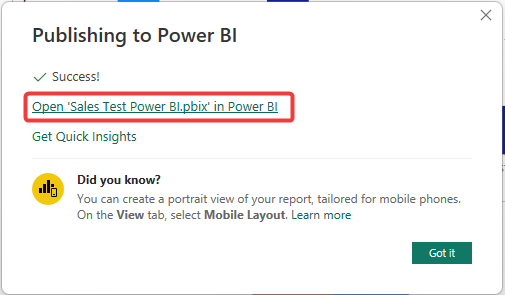
Once it has been successfully published, click on Open in Power BI, and will be redirected to your report or dashboard.
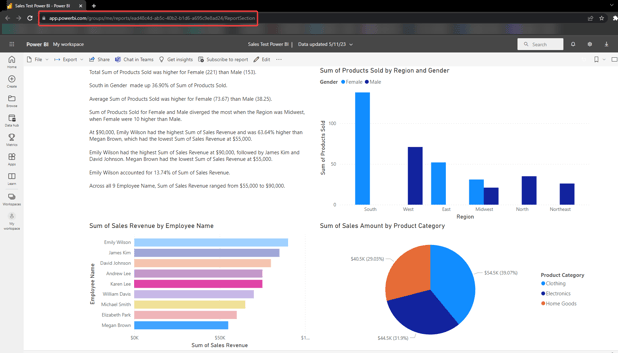
Copy the URL in your Power BI dashboard.
<Optional> If you've configured a filter on your Power BI dashboard, OptiSigns can display your filtered report as a Report Bookmark. Please note that the filter should be set under the Report Bookmark instead of the Personal Bookmark to ensure proper functionality. To create a Report Bookmark in the Power BI, do the following:
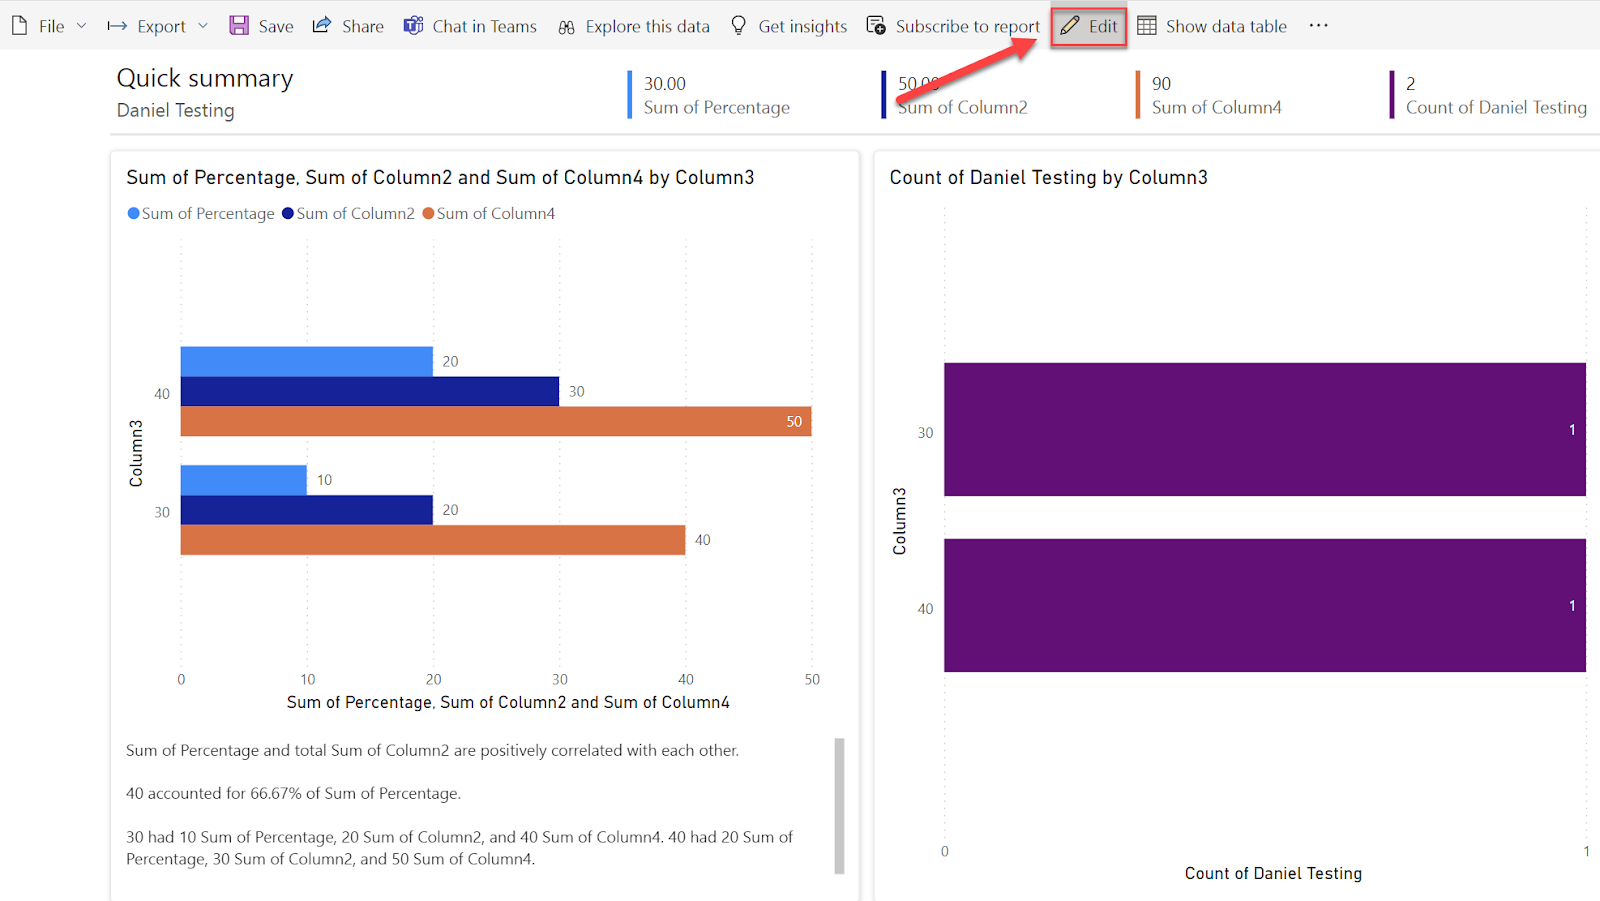
- Open the report in "Edit mode".
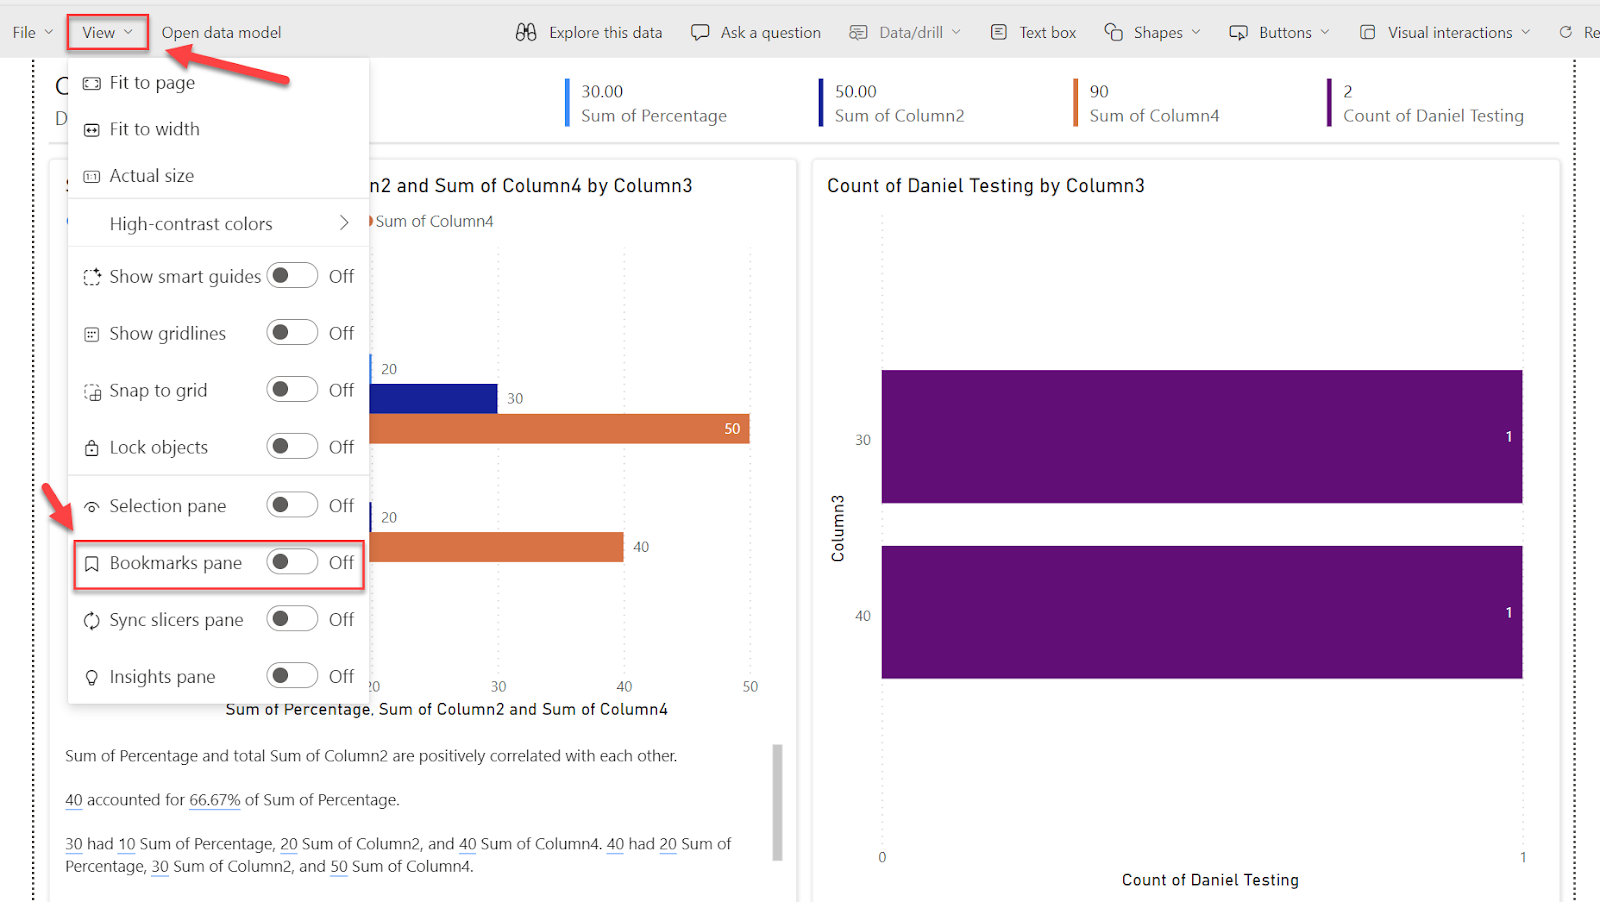
- Click on "View" and toggle the "Bookmarks pane" to On.
- Choose "Add" from the Bookmarks pane. A new bookmark is created with a default name. Rename the bookmark by double-clicking on it.
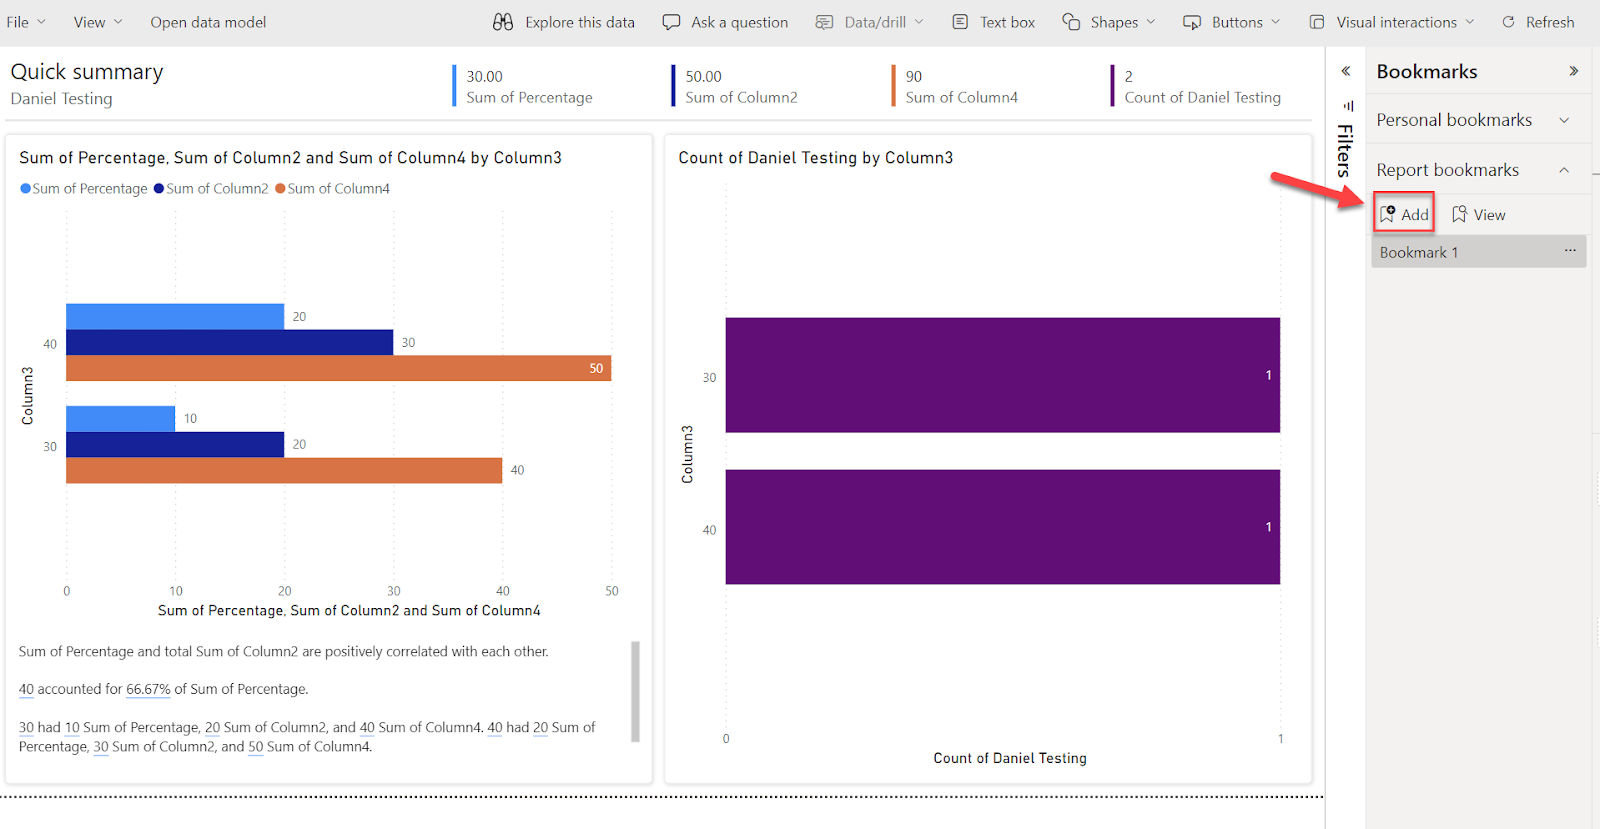
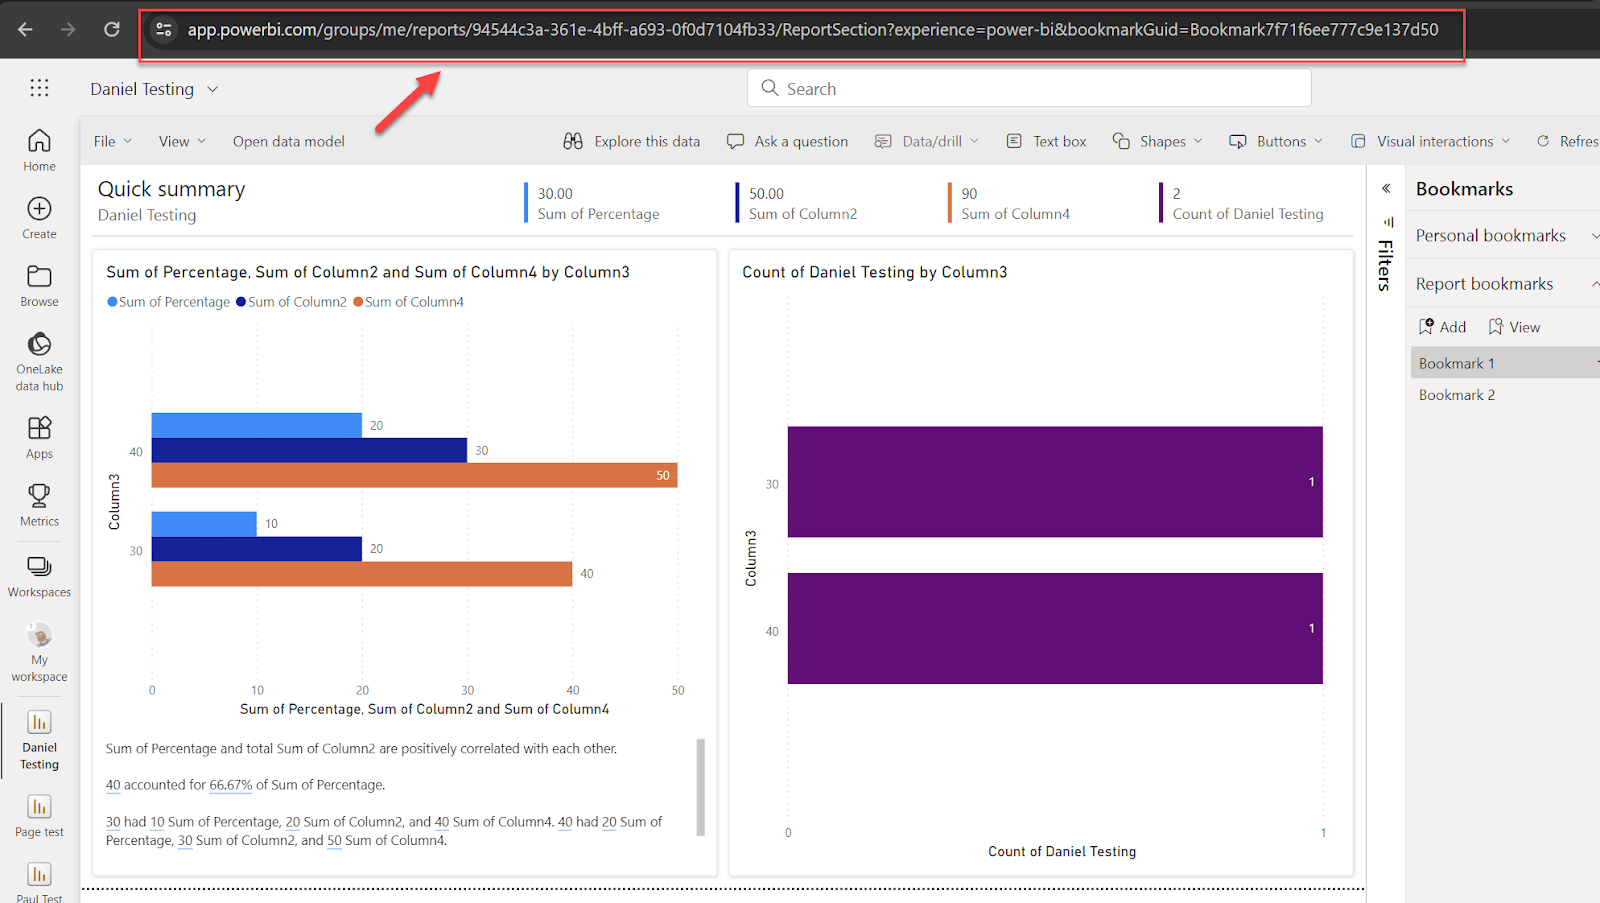
- Once the bookmark is created, click on "Bookmark 1" and copy the URL.
2) Add Power BI on OptiSigns.
Now, it's time to add an instance of the Power BI app to your OptiSigns account.
Go to our portal: https://app.optisigns.com
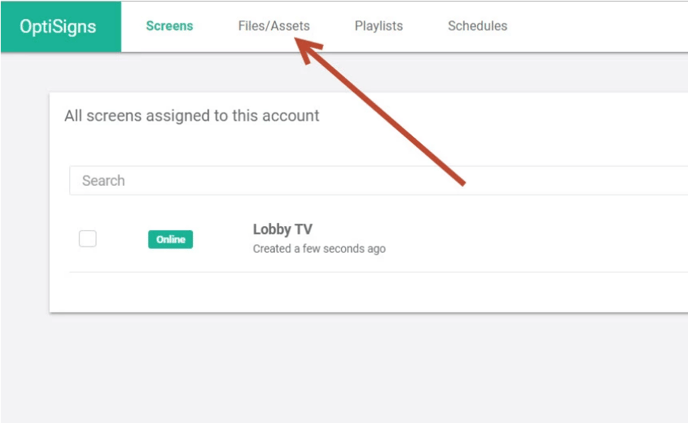
Click File/Asset
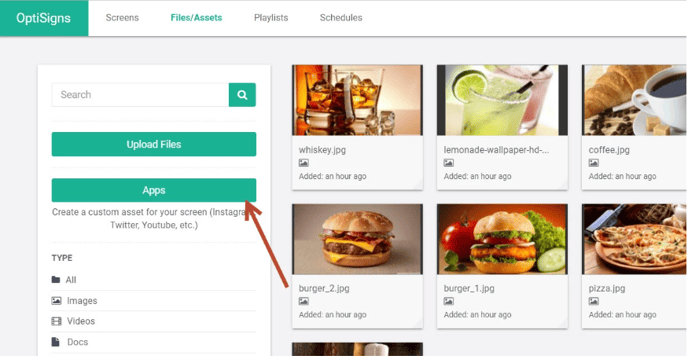
Click Apps
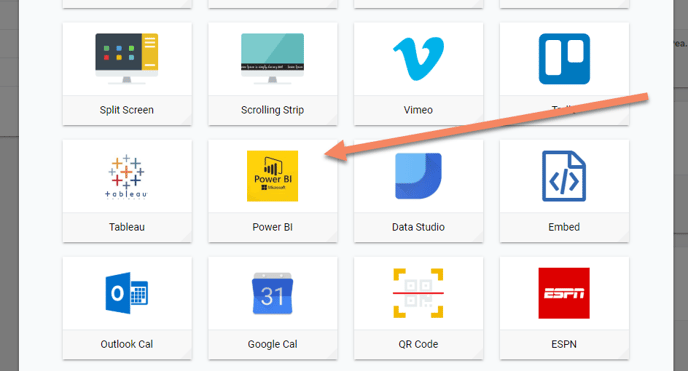
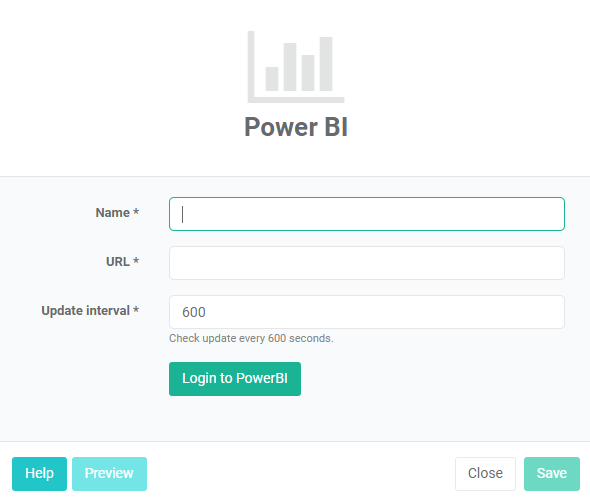
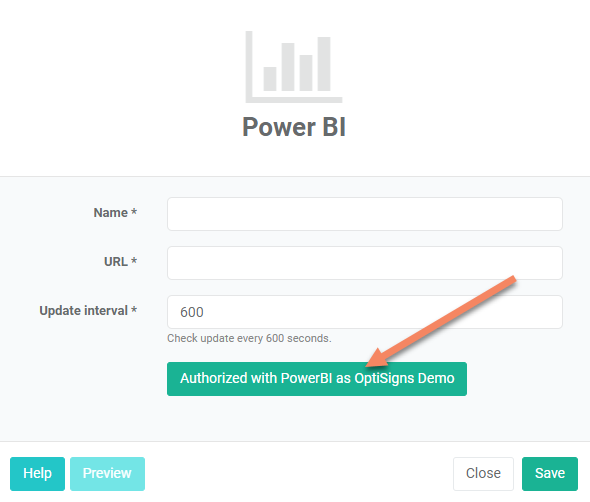
Enter your Power BI app details
-
Name: Name of your Power BI app instance, this is the name of the app in your asset list. It will not be displayed on your screens.
-
URL: Paste in the Dashboard URL you copied in Step 1 here.
- Update Interval: Select how often you want the app to check for an update to the Dashboard. The Default is 600 seconds (10 minutes).
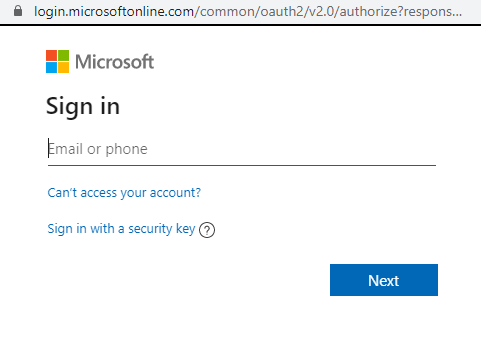
- Login to PowerBI: To view your dashboard on any screen, OptiSigns requires you to authenticate via the pass-through to Microsoft's Power BI service.
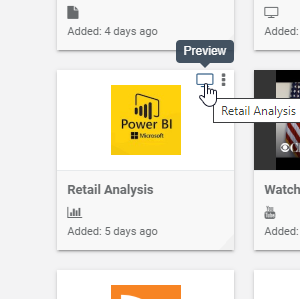
Once you are authenticated your app instance should look like this.
Now you are ready to display. To confirm it is set up appropriately, you can preview it.
3. Assign it to your screen
Now you can choose to assign your Power BI app instance either directly to a screen or as part of a Playlist and/or Schedule.
That's all! Congratulations!
You have created your Power BI App Instance.
You can change the instance at any time by editing it in the Files/Assets tab.
You can follow the same process to put any other Power BI dashboard on OptiSigns.
For additional assistance with Power BI usage
Check out this guide here: Publish and share in Power BI
If you have any additional questions, concerns, or any feedback about OptiSigns, feel free to reach out to our support team at support@optisigns.com