
This guide will show you how to manage and edit your playlist settings in OptiSigns.
Topics include:
- Edit your Playlist
- Add Additional Items Into a Playlist
- Playlist Options and Change Multiple Playlists Settings at Once
- Display Operation Report
- Copying or Duplicating Playlists
- Modify Playlist Colors
- Deleting a Playlist
- External Playlist Sharing
If you need help getting started, you can refer to our article titled How to Create a Playlist for guidance and support.
Edit your Playlist
To edit a playlist, simply click on the playlist.
Modify attributes, add, delete, or rearrange items, and the content on your screens will automatically update.
- To edit all items in the playlist, click the Select All button in the top left corner. Or, hover over the item in the playlist and check the checkbox.
- Select assets within your playlist to access the Remove from Playlist and Edit Duration options.
Remove from Playlist: This option will delete selected asset(s) from the playlist.
Edit Duration: You will be able to customize the duration in seconds for all asset(s).
Add Additional Items Into a Playlist
To add items from your files/asset to your playlist:
- Select an asset from the right panel, or hold the Ctrl key to select multiple items.
- Click the 'Add Selected Items to Playlist' button OR just simply Drag and Drop to the Playlist.
- This action will promptly incorporate the chosen assets into your preferred playlist.

Playlist Options and Change Multiple Playlists Settings at Once
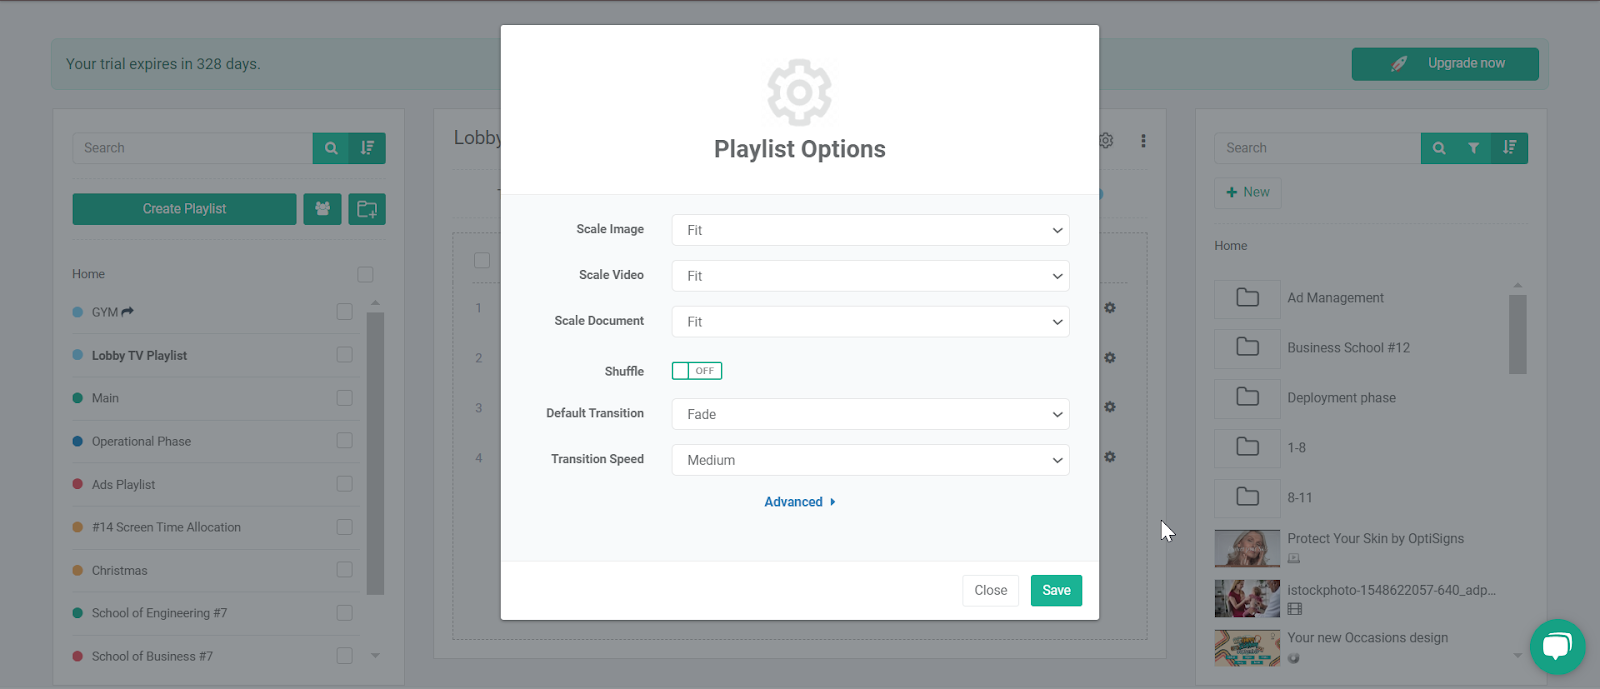
Singular Playlist Options:
- Click the gear icon on the top right-hand side.

2. The Playlist Option page will then appear:

- Scale Image: The option will default to Fit. This option will allow you to resize your Image per the selected preference:
- None
- Fit
- Stretch
- Zoom
- Scale Video: The option will default to Fit. This option will allow you to resize your Video per the selected preference:
- None
- Fit
- Stretch
- Zoom
- Scale Document: The option will default to Fit. This option will allow you to resize your Document per the selected preference:
- None
- Fit
- Stretch
- Zoom
- Shuffle: The "shuffle" option for a playlist randomizes the playback order of items.
- Default Transition: This option determines the type of transition effect that occurs when switching between items in the playlist:
- Fade
- Slide from Right
- Slide from Left
- Rotate In
- Flip
- Gallery
- None
- Transition Speed: This option controls the duration or speed at which the transition effect occurs when switching between items in the playlist:
- Slow
- Medium
- Fast
- Custom: You will have the option to select a specific duration in seconds, with choices ranging from 1 to 20 in five-second intervals.
4. Click the Advanced button:
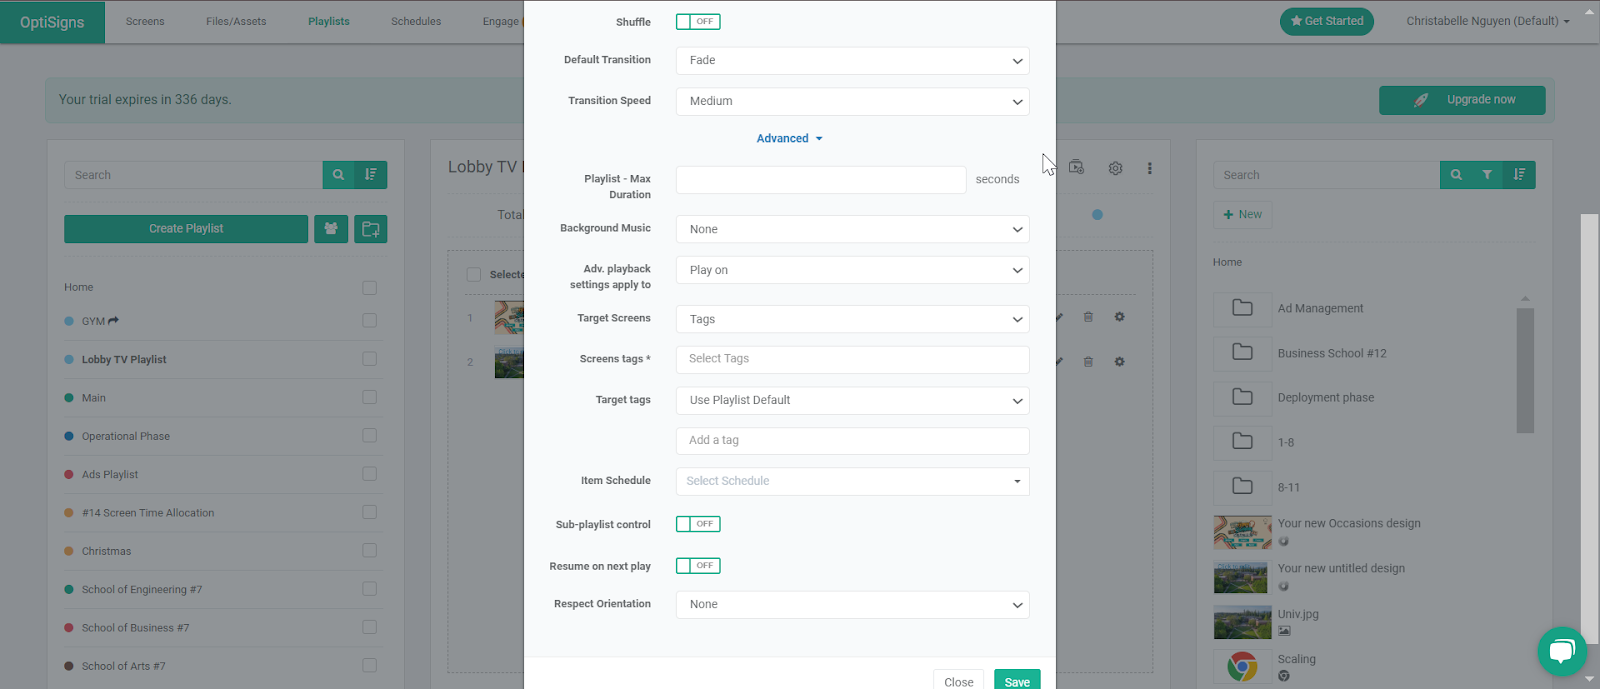
- Playlist - Max Duration: The maximum duration for your playlist playback in seconds.
- Background Music: You will be able to add music to your playlist here:
- None
- Mp3
- URL
- Adv. playback settings apply to: Apply restrictions on the playlist items so that the item will only play on certain screens or not play on certain screens:
- All
- Play on
- Not play on
- Target Screens: This field will only be visible if you have selected the option "Play on" or "Not play on" in the "Adv. playback settings apply to" option.
- Select the target screens by either Screen name or Screen Tags.
- Screen Tags: Add a tag name.
- Screens: Choose your paired screen.
- Target tags: A grouping method for screens, enabling you to push content to tags, with all screens assigned to those tags receiving the content.
- Use Asset Default: By mixing content for different screens within the same playlist, you can simplify the management of your screens.
- You will also need to set up content tagging which you can learn more about here.
- Use Playlist Default: By mixing content for different screens within the same playlist, you can simplify the management of your screens.
- Create a tag name.
- You will also need to set up content tagging which you can learn more about here.
- Make sure to select "Use Playlist Default".
- Under the "Content Tag Rule" under Edit Screens simply select the playlist tag instead of the asset tag.
- Use Asset Default: By mixing content for different screens within the same playlist, you can simplify the management of your screens.
- Item Schedule: Control the schedule of each playlist item.
- Sub-playlist control: With Sub-playlist control, you can define how many items you want to play from the sub-playlist and if it is embedded as a nested playlist. It can help you better manage the time allocation of a certain type of content.
- Resume on the next play: With this option enabled, the playlist will resume from where it left off last time, rather than starting from the beginning. This can enhance the user experience, especially when the playlist is interrupted for any reason.
- Respect Orientation: Choose the orientation you would like for your playlist:
- None
- Both
- Landscape
- Portrait
Change Multiple Playlist Settings at Once:
- Select all the playlists you wish to change.
- Click the gear icon
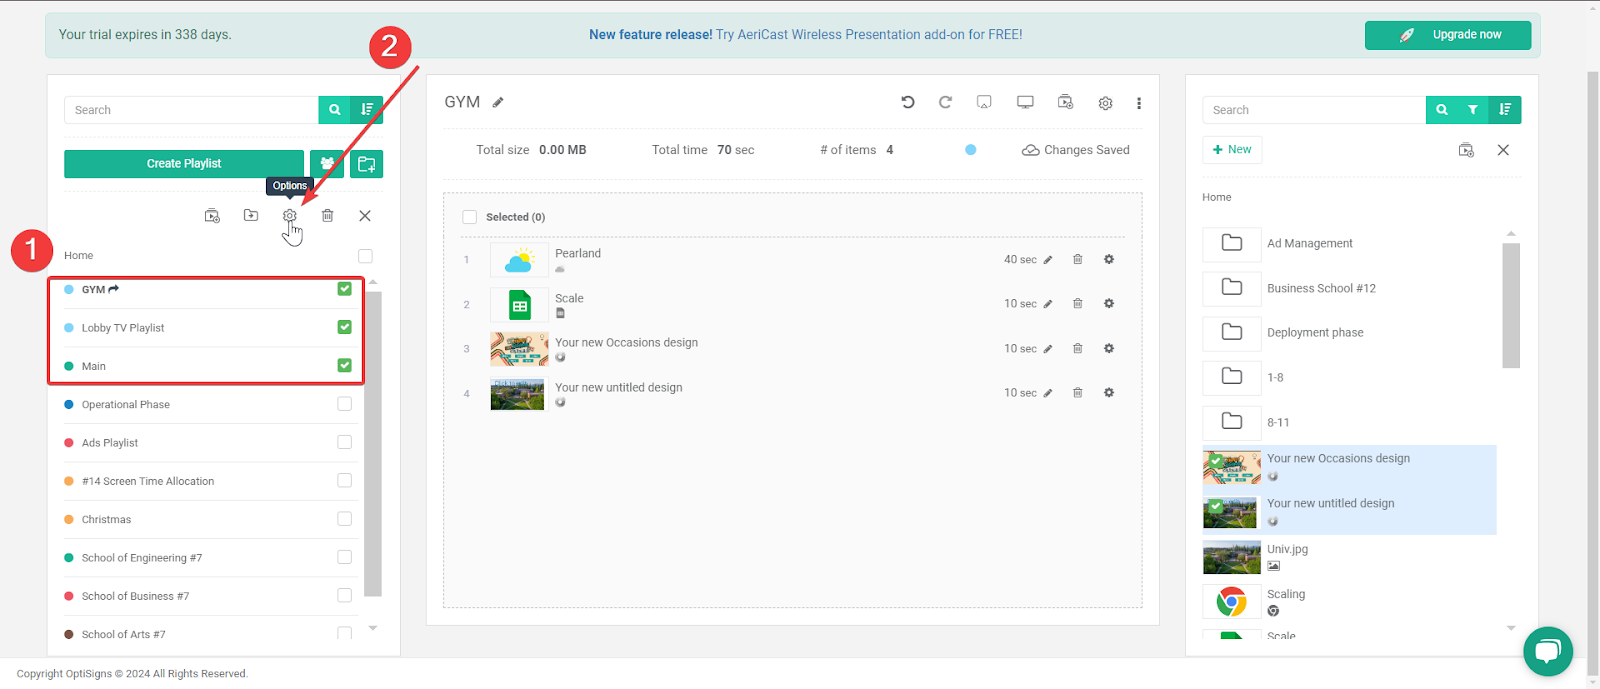
3. The "Playlist Option" page will then appear:

Display Operation Report
A Playlist Operation Report offers a summary of the features activated within a user's playlist, removing the need to view each asset individually.
- Click the three dots in the top right corner.
- Click "Playlist Operation Report"
- Open from your downloads to view
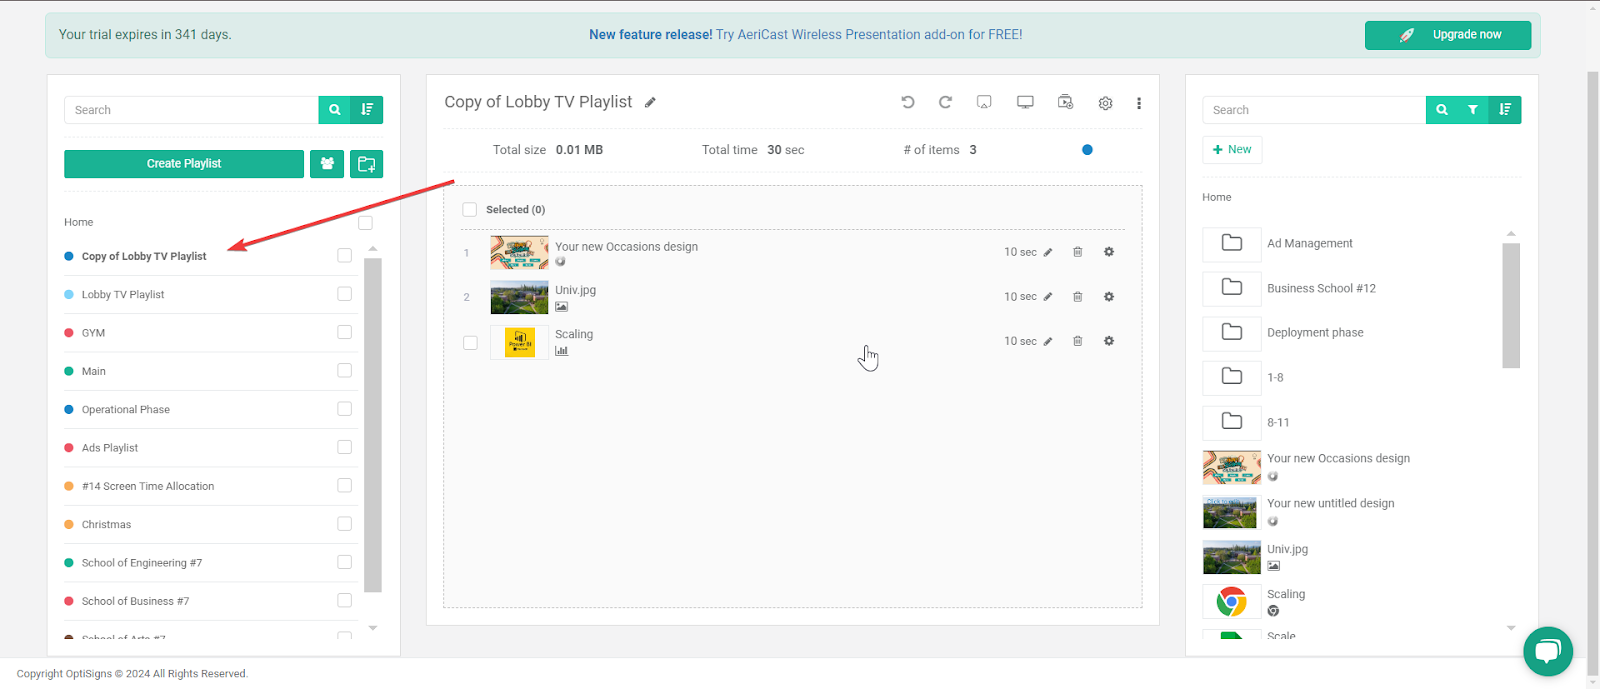
Copy/Duplicate a playlist
- To copy or duplicate the playlist, begin by clicking on the three vertical buttons.
- Next, click the "Duplicate Playlist" button.
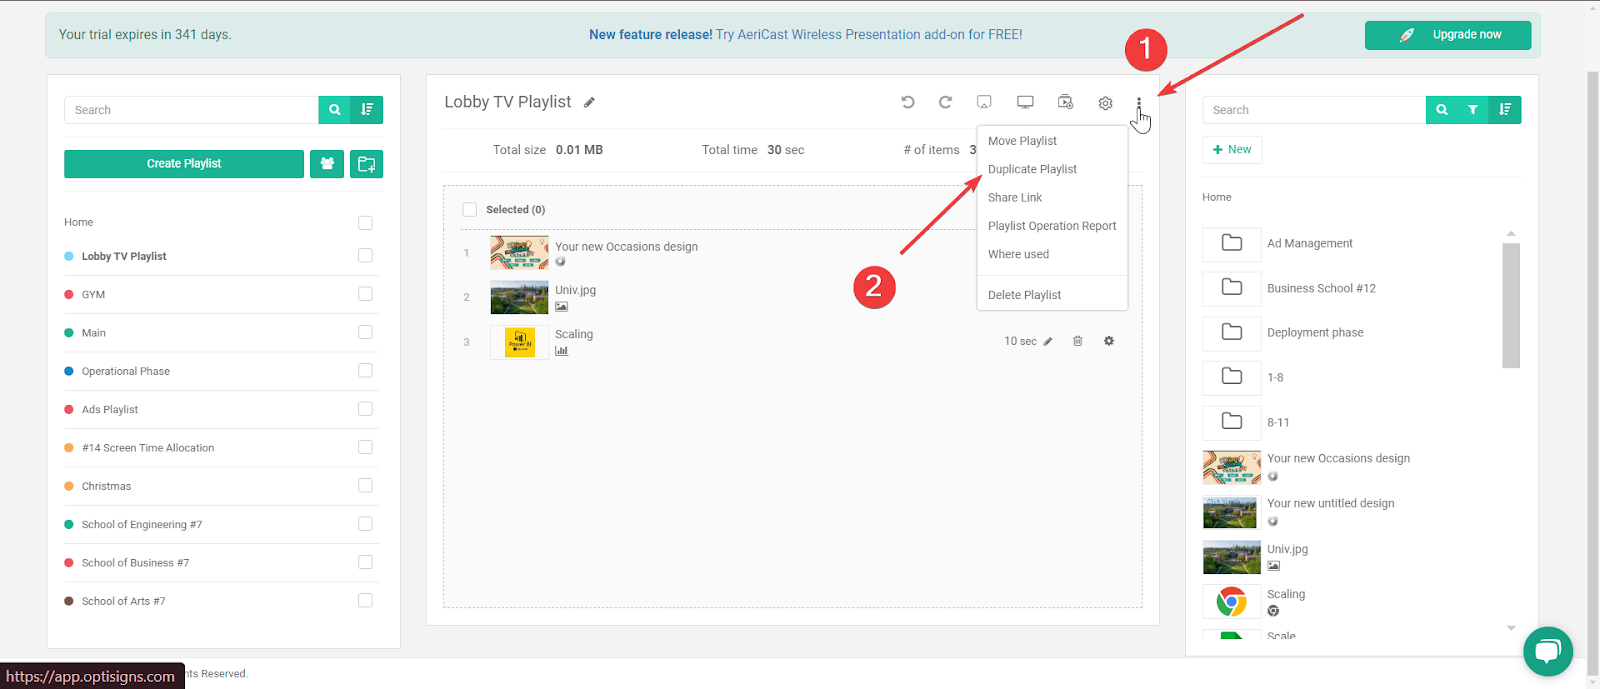
This will create an exact copy of the playlist in your list.
Modify Playlist Colors
Set a color for the playlist to enhance organization and improve visibility in schedules. You can view the available colors and how they look in a schedule in the following presentation:
Delete a Playlist
- Delete a playlist by clicking the three horizontal buttons and then selecting the "Delete" button.
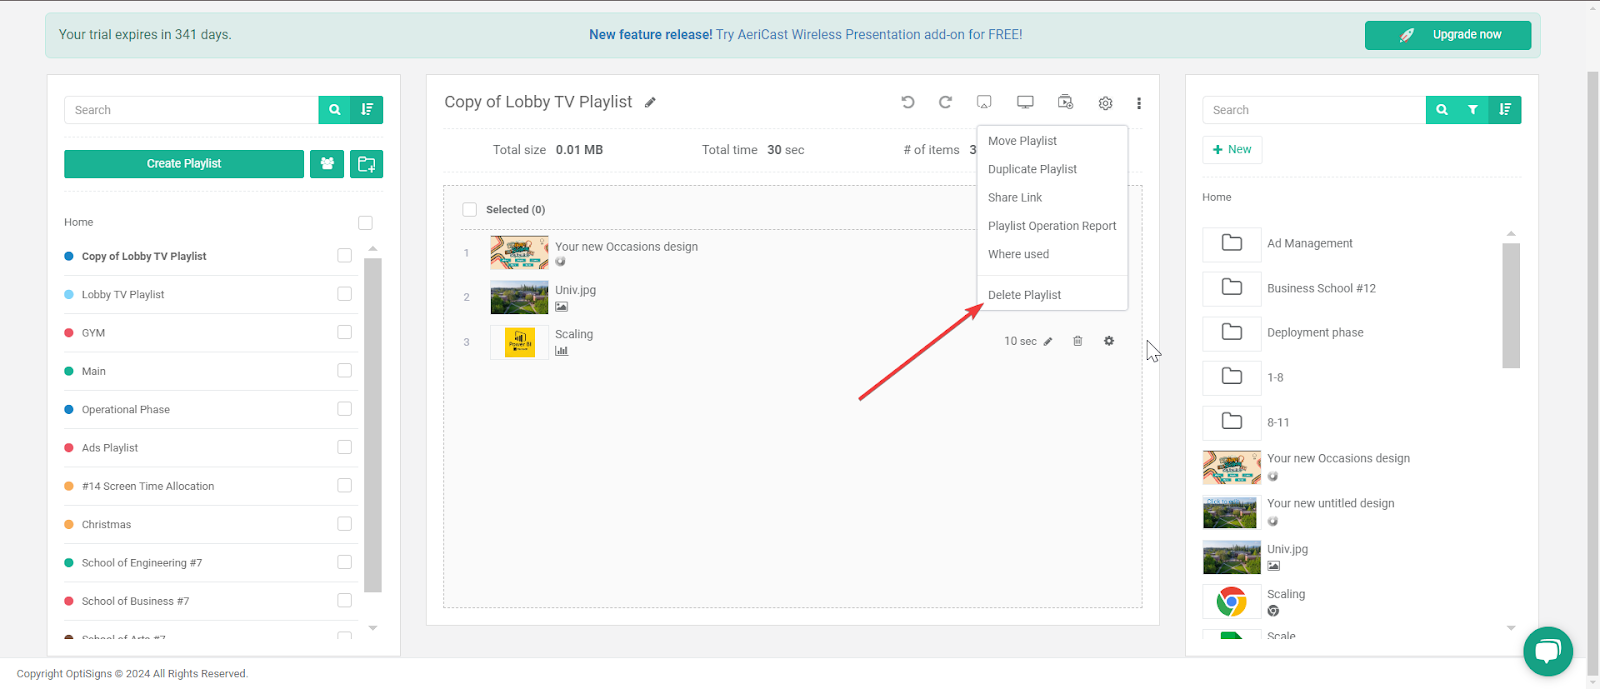
2. Confirm the deletion.

External Playlist Sharing
- Select the desired playlist.
- Click the "Share Link" button second from the left-hand side.
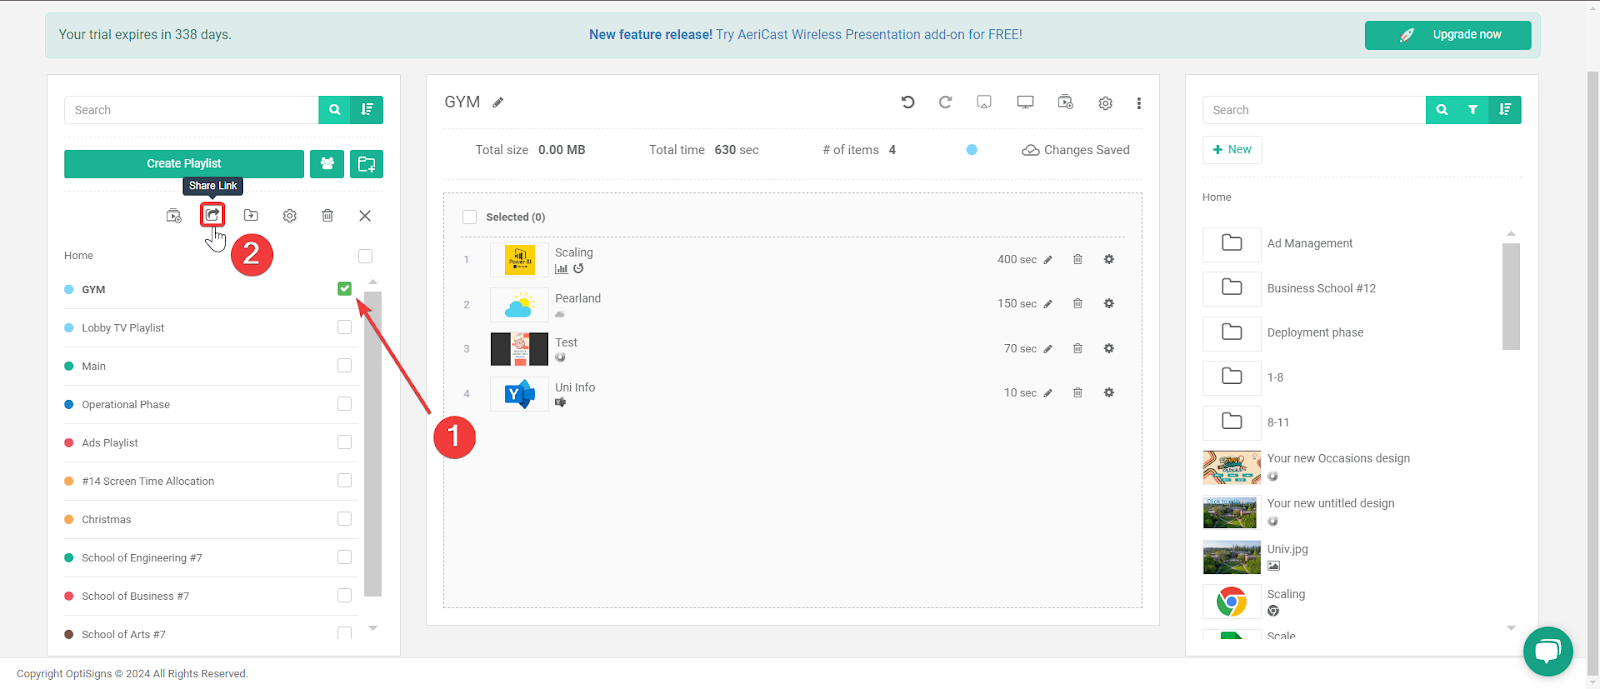
To learn more about this feature, you can click here
That's all!
If you're interested in exploring our advanced features further, consider Nested Playlists. These resources offer detailed insights into optimizing your playlist management experience with OptiSigns.